
The correct camera settings are as follows. There aren’t any.
Hi folks. I’ve heard people asking the same question, no matter what type of photography they’re learning. What camera settings should I use? If you’re looking for a magic formula, you’ve come to the wrong industry. I suppose, if I were being a smarty pants, I’d say, the camera setting which give you the exposure you’re trying to achieve, using the equipment you have, in the conditions you’re shooting. Which, although the correct answer, probably isn’t the answer you were hoping for.
You see the photo exposure is a combination of the yummy trinity of photographic flavours. Otherwise known as Aperture, Shutter Speed and ISO. All of which are required, in some amount, to create a photographic exposure. Now you all know what each of the yummy trinity are and what they do… Right? If not let me know in the comments and I’ll write a post on them.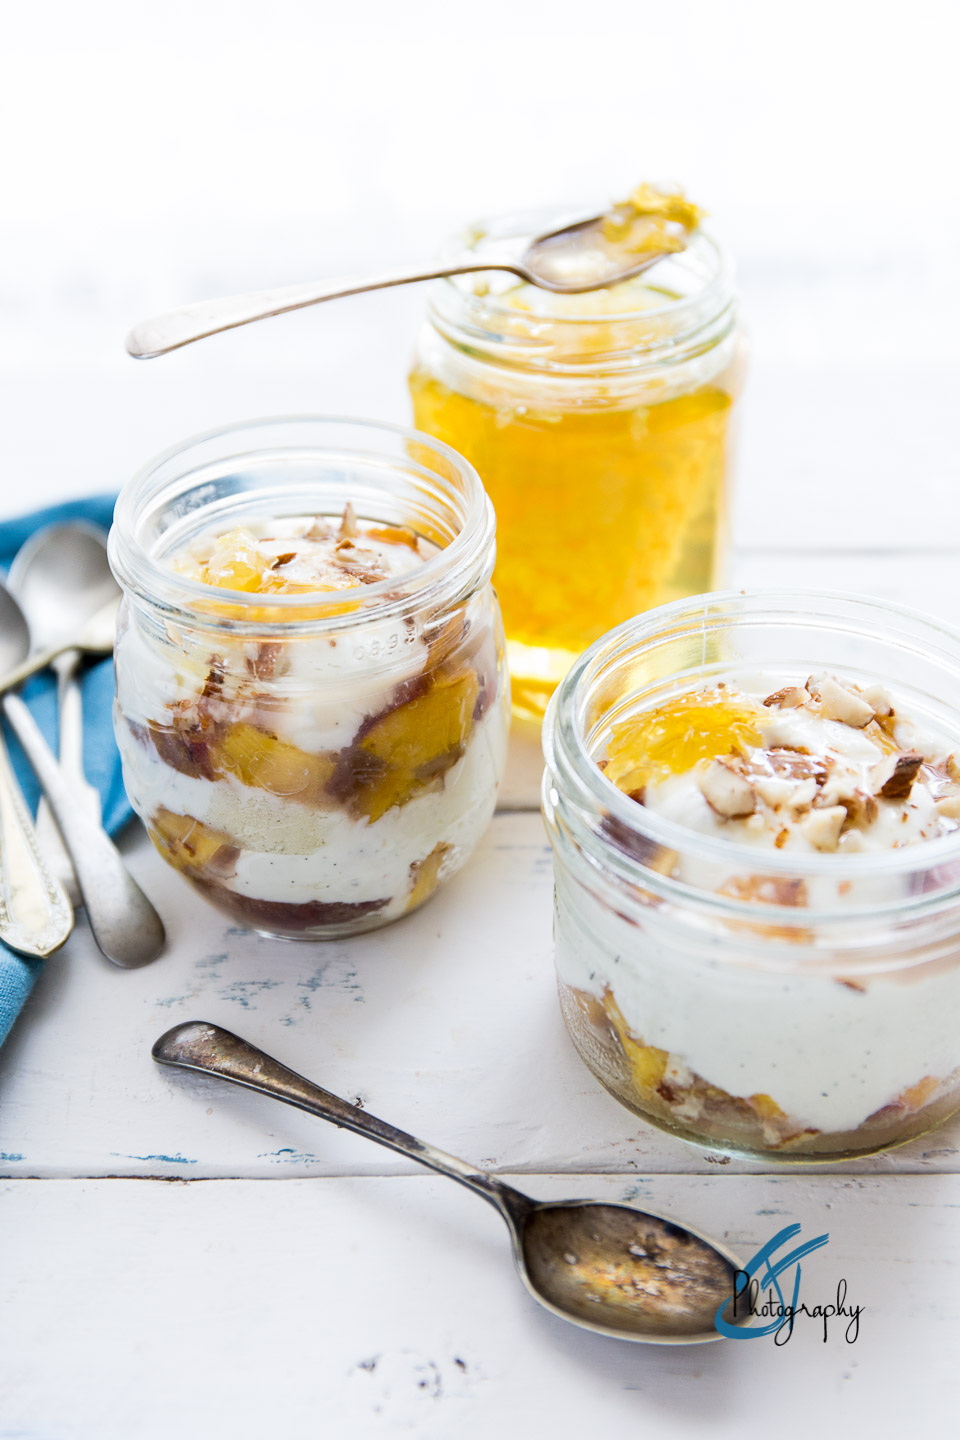

Patricia & Bertie
You need to have an idea or picture in your head of what the final photograph is going to look like. This is before you even sharpen your chefs knife and open the can of beans. You need to have the look, style and a bit of a story to tell. Don’t get too caught up on the story just yet. It could be as simple as… “There once was a plum call Patricia, and she had a spicy love affair with Bertie the Tahitian Vanilla Bean” The point is, before we can tell the story of Patricia and Bertie we need to know, is it a dark and fiery entwinement or is it innocent summer love and friendship in Tuscany.
All these things not only effect your choice of exposure but the styling and way you approach the shoot. Lets just say we’re going with light and bright, summers love in Tuscany. Lets also say you have nice window light and plenty of it. So you’ll probably be using an ISO between 100 & 400. You don’t have a tripod so you’ll be hand holding, this means you won’t want your shutter speed to be less than (slower than) 1/60 sec, which I believe to be about the lowest most people can hand hold and still get a sharp picture. Next you say you’d like Patricia the plum, drizzled with honey sharp in the foreground whilst throwing Bertie the Vanilla Bean and the rest of the background into a delicious soft focus.

Based on this scenario, two things are crucial to getting the exposure you’d like and the picture you want. The Aperture, which has a lot to do with how much of the image is in focus and how much is soft (Depth Of Field), and the shutter speed, because 1/60 sec is the slowest you can hand hold. Therefore the most likely candidate for change in the yummy trinity is the…..? ISO!!!! I hear you all shout out together 🙂
I’ll be going further into detail regarding depth of field and how to achieve the look you want in another post. It’s the one of the trinity which has the greatest effect on the look of the photograph, but it’s not all about the Aperture.
Back to the Tuscany love story. You’ve got your set up and shooting position. You’ve styled your scene based on the story and image orientation. You take the first shot, for example, f4, 1/60, ISO 200 and the exposure is darker than you want. Now you need to change the recipe for your exposure to get a different result. Your shutter speed probably shouldn’t be slowed any more because you’re hand held, so that stays put. Your lens may not go wider than f4 and be maxed out, so that’s going to stay put. You also have to remember, if your lens does go wider than f4 and you open it up, the depth of field is going to become shallower and effect your image. The only thing left to change is your ISO. You need to raise the ISO, making the camera more sensitive to the light. Lets say you want the exposure to be 1 full stop brighter. Take the ISO from 200 to 400. Take a shot. Based on how you feel about this new exposure recipe, you will raise or lower the ISO to suit.
So you see there is no correct setting for any photograph. Maybe there’s a look you’re going for, but that simply means you need to come up with an exposure recipe that fits the look you want. Understanding that many recipes will achieve the same exposure, but the looks can vary quite a bit. Here’s some examples to show you what I mean.
- f2.8, ISO 100, 1/30
- f5.6, ISO 100, 1/8
- f16, ISO 100, 1 sec
- f2.8, ISO 320, 1/100
- f3.5, ISO 400, 1/80
All these camera settings will create the same exposure but the look will change regarding the depth of field. The higher the f number the deeper the depth of field will be (more in focus), the lower, the shallower (less in focus). So where do you focus? Pop over to my post on where to focus in your food photography where I go through this.
What do we now know about the Yummy Trinity?
There are no magic camera settings to get the look you want. The exposure, light, story, mood all dictate what the exposure will look like. From there, you take one or two of the Yummy Trinity and fix them based on what you’re shooting, the conditions you’re shooting in and the exposure you have in your mind’s picture.
Get a starting point for your camera settings based on where you usually shoot and the light you have to work with. I’ll give you a ballpark starting place of f 5.6, 1/60, ISO 400. This is actually the camera settings I’d use at this moment, shooting in our little studio, with window light. It’s also in the range of capability of most peoples camera and lens. Take some time to frame up your shot. Now take a look, is it too bright or too dark? Now change only one of the three (Aperture/Shutter Speed/ISO) and take another shot. If it’s still not the exposure you want, change the same one of the trinity until you get the exposure you want. Now you’ll have an understanding of what that setting does.
Go back to my starting point setting again (See above) but this time change one of the other settings until you get the exposure you want. Now you know how this affects the shot. Then go back to the starting settings and use the last of the three, until it’s the exposure you want.
Anyone of the three will get you the exposure you want, but there will be a giveback from using them. Your job as a photographer is to balance the Yummy Trinity until you get the shot you want without compromising the image more than necessary.
The givebacks are like this…
- Shutter Speed: If it gets too slow your pictures will become blurred without the use of a tripod. With a tripod, it doesn’t really matter how slow it is. Neither the camera or the subject are moving.
- ISO: Higher ISO’s bring a degrading to the image. Depending on your camera, it may become a problem with a small increase (up to around 800) or a larger one (up to around 2000) Higher ISO setting bring noise to the image files, like a digital grain. At more extreme levels the sharpness and colour rendition become affected.
- Aperture: Most of the restrictions with your aperture is often the maximum capability of the lens. More expensive lens sometimes referred to as “fast glass” go to f1.2. Where many kit lenses have a maximum aperture of f4-5.6. You will want to also consider the wider open the lens (or lower f-number) you are using, may give you a depth of field which is too shallow for what you want.

So you see, as you gain from one of the trinity there may be a slight negative you have to take into account. It’s not always necessary to adjust just one of the three. You can adjust two of the trinity to get the exposure you want. For example, you want to raise the exposure by 1 full stop of light. You may get ⅓ of a stop from your aperture and then ⅔ of a stop from your ISO. Does that make sense?
That seemed like a bit of a long post but I hope you’ve taken something from it and I was clear enough. As always, I’d love to hear from you if you have any questions or you just want to say hi. If you know someone who would benefit from my tips, please share the links with them, the more the merrier.
That’s all for now, see you back here very soon.
![]()
14 Comments on “What camera settings to use for food photography”
Thank you for such simplicity in your explanation, it was clear to understand and YES it’s helpful to me
So glad you found it helpful.
Thank you for this great explanation of the trinity, it’s the best article I’ve read on this and helped my understanding enormously.
Hey Catherine, you just made my week. So happy you understood this. Often we read things over and over, sometimes from different sources and eventually the time and explanation come into alignment and we get it.
I’m the same. Sometimes understanding a concept is like pushing a bedspread through a small letterbox.
Have a great weekend and if you have any questions, do drop me a line.
JT
Hi and thank you for a great explanation. I have been working with food for 40 years and just started getting my brain around photos, videos, food styling and wordpress. Much appreciated.
Hi Brendan. Sounds like you’re on a delicious new adventure. Since you’ve been working with food for so long the ingredient of loving all things food will be super helpful to you. Good luck with all your new skills, it’s going to be so satisfying feeling yourself grow in new experiences.
If you have any questions or subjects I can share my 2 pence worth on, do let me know, always here to help.
Have a great week
JT
Hi thank you for your article, it was very helpful to me. Would you pls share me the trinity setting of each food photo that you put in the above article. Also the lighting that you used, is it continues lighting or strobe flash.
My email is masoud01@icloud.com
Sincerely
Masoud
Dubai, UAE
Hi Masoud,
I’m glad you found the article helpful. It would take some time to dig out the settings for each shot. The point is though, my settings aren’t relevant to your photography. You need to work out the yummy trinity exposure for the shot you’re taking in the lighting conditions you have. Some of my shots here are using natural window light and others using speedlites in a softbox.
Once you get an understanding of how exposure is achieved you’ll also understand that the settings you use to get to that exposure are entirely up to you, your taste, the look you want, the camera gear you’re using. There are so many variables. Shoot every single day until you begin to understand how you can achieve the look you want and how much it can vary.
All the best
JT
Hello and Thanks! it’s helpful to me. From Russia with love 😀
I’m glad you found it helpful. Thanks for stopping by.
Hello thanks for your article and the ‘golden nuggets’
This is very informative.
Really glad it’s helpful Diji, thanks for stopping by.
JT
Thank you so much for this. I am finally starting to understand my camera and your article is really helpful
Hey Lorraine, I’m so glad this was some help to you.
Keep on shooting
JT