Making your own backgrounds for food photography
Hi everyone, I hope you’re all well and enjoying your summer. The nice hot weather we’re enjoying in the UK right now, got me outside and away from the computer screen. I wanted to create my own backgrounds to shoot food photography. If you remember, a little while ago, I had a car full of old pallets, which I intended to create these backgrounds, with a bit of time and paint I have some very simple, unique and effective shooting backgrounds and surfaces.
The battle of the pallets
The pallets I obtained are of a tough industrial nature, so taking them apart wasn’t as easy as I’d imagined. I swopped my shutter button, reflectors and Wacom Intuos for a good pry bar, hammer and pliers, to take these babies apart. Lets just say, I have a whole new appreciation for the humble pallet after this, but it’s worth the effort.
I think it goes without saying, you should be careful taking pallets apart, make sure you knock out all the nails and pull out any staples you come across.
With my pallets being a little ruff around the edges, I borrowed a small sander to remove a bit of the rough parts. Wood splinters on a photo shoot are not the way forward, which is why I was prepping the boards a little. If you get nicer pallets or buy timber from the hardware store, you may not have to sand the boards. You don’t want your boards to be too smooth, a bit of rough texture can work well for you.
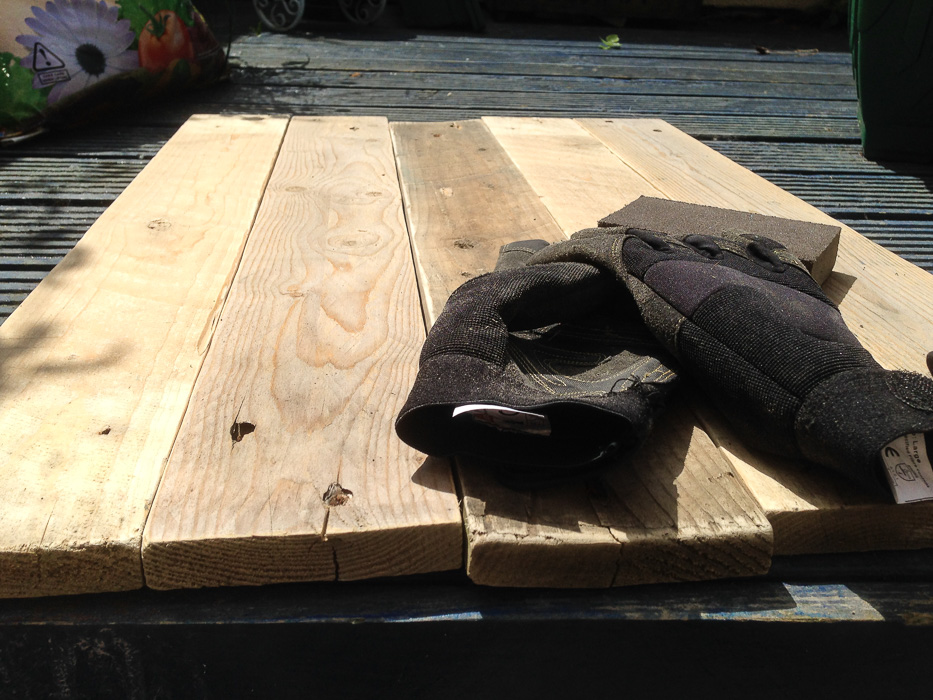
Now if you go out and buy wood from your home hardware store, they, most likely, won’t need any rubbing down at all.
Lick’a’paint
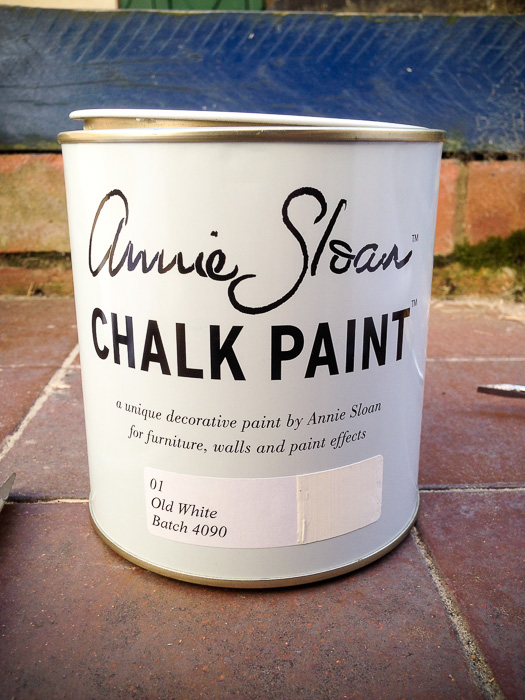
I don’t have a great deal of patience when it comes to painting so I wanted to use a paint that would be super easy to work with and give the desired effect. I decided to use Annie Sloan chalk paint, mainly because it’ll stick to just about anything with minimal preparation and it’ll have a nice matt finish.
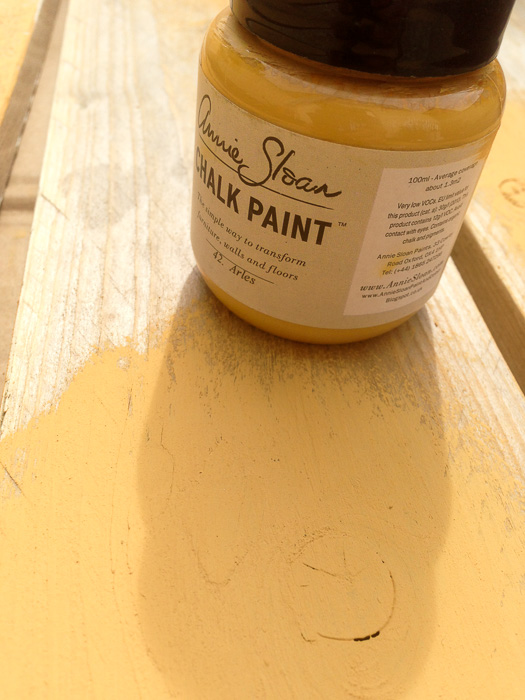
I chose a vintage white for the main colour for the boards and a couple of accent colours. What I did was paint patches of the accent colour along the wood, let it dry and then painted the main white over the top.
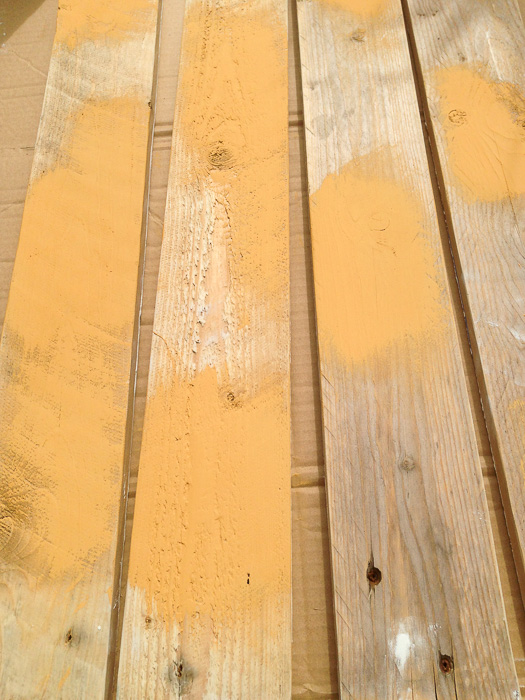
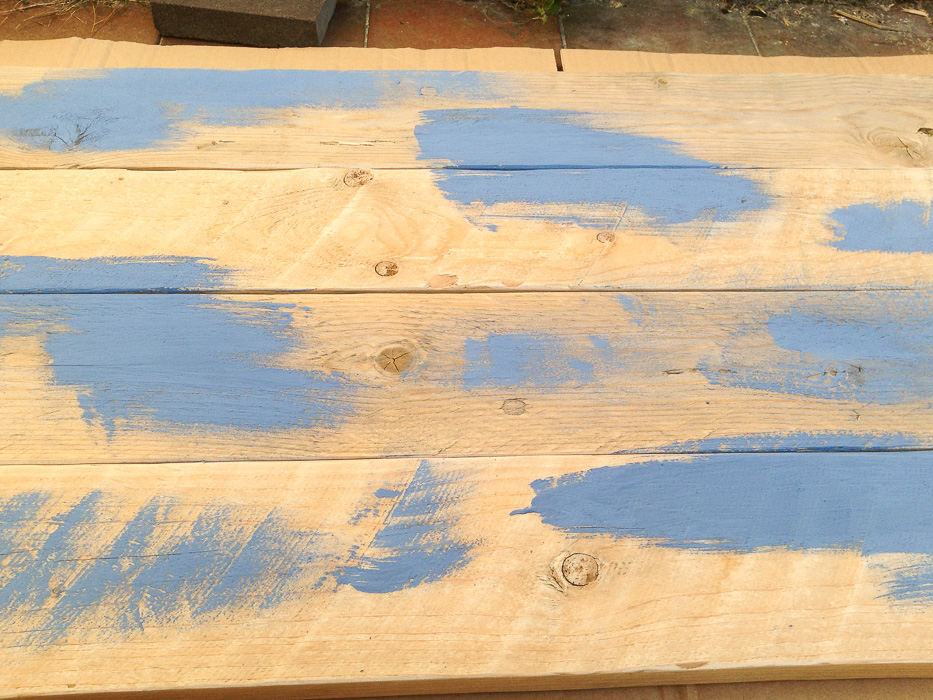
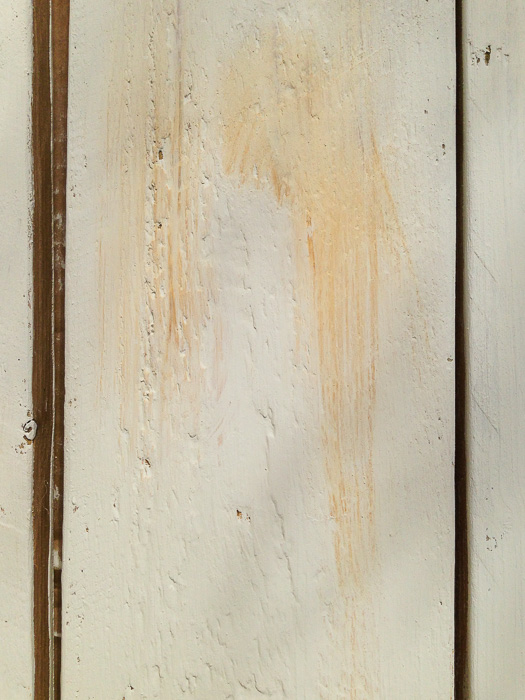
Once the white was dry, which doesn’t take very long and remembering where the colours had been painted, I took sandpaper and rubbed off the white revealing the colour beneath, but just a little.
Time to shoot
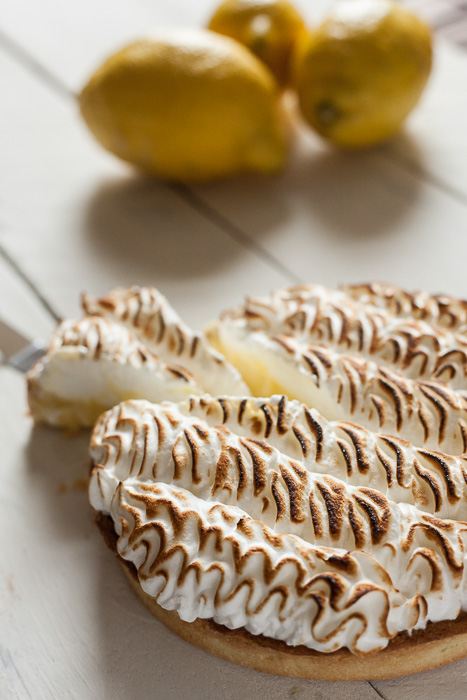
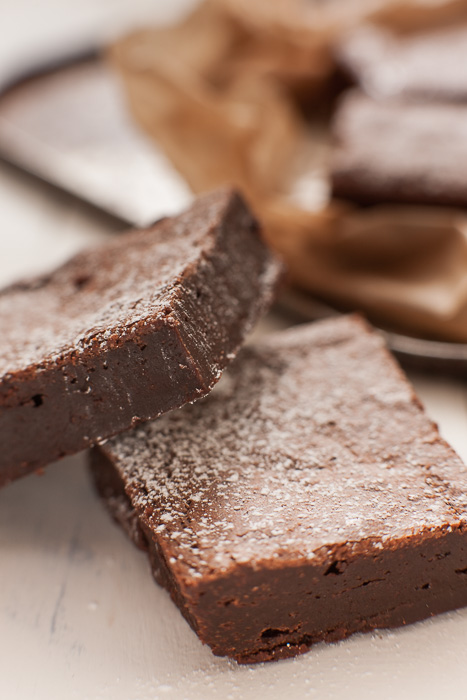
Once you have all your boards painted and dry you can start to use them for backgrounds. Have a suitable shooting location, place your new boards on a table or platform, line them up and you’re good to go. That’s what I did here with a lemon tart and chocolate brownies, both to die for, supplied by the amazing Salted Mint.
I will be painting further boards, dark with coloured highlights for further looks. You can also stop by your local hardware shop and buy sample tiles or flooring to use for the same use. I generally look for a matt finish and colours that will work with many different coloured foods. Having some texture is a bonus, I find, for shooting certain foods.
There are many different techniques you could use for this effect if there’s a large board you want to use, think of all the painting techniques used for walls to get the effect you want. One more good tip is, most paints you’ll be using are water-based, so if you want to have a bit of a washed out look, water down the paint until it covers the way you want. There’s no right or wrong way to do this so feel free to create.
That’s all for now, I hope to see you back here very soon.
![]()