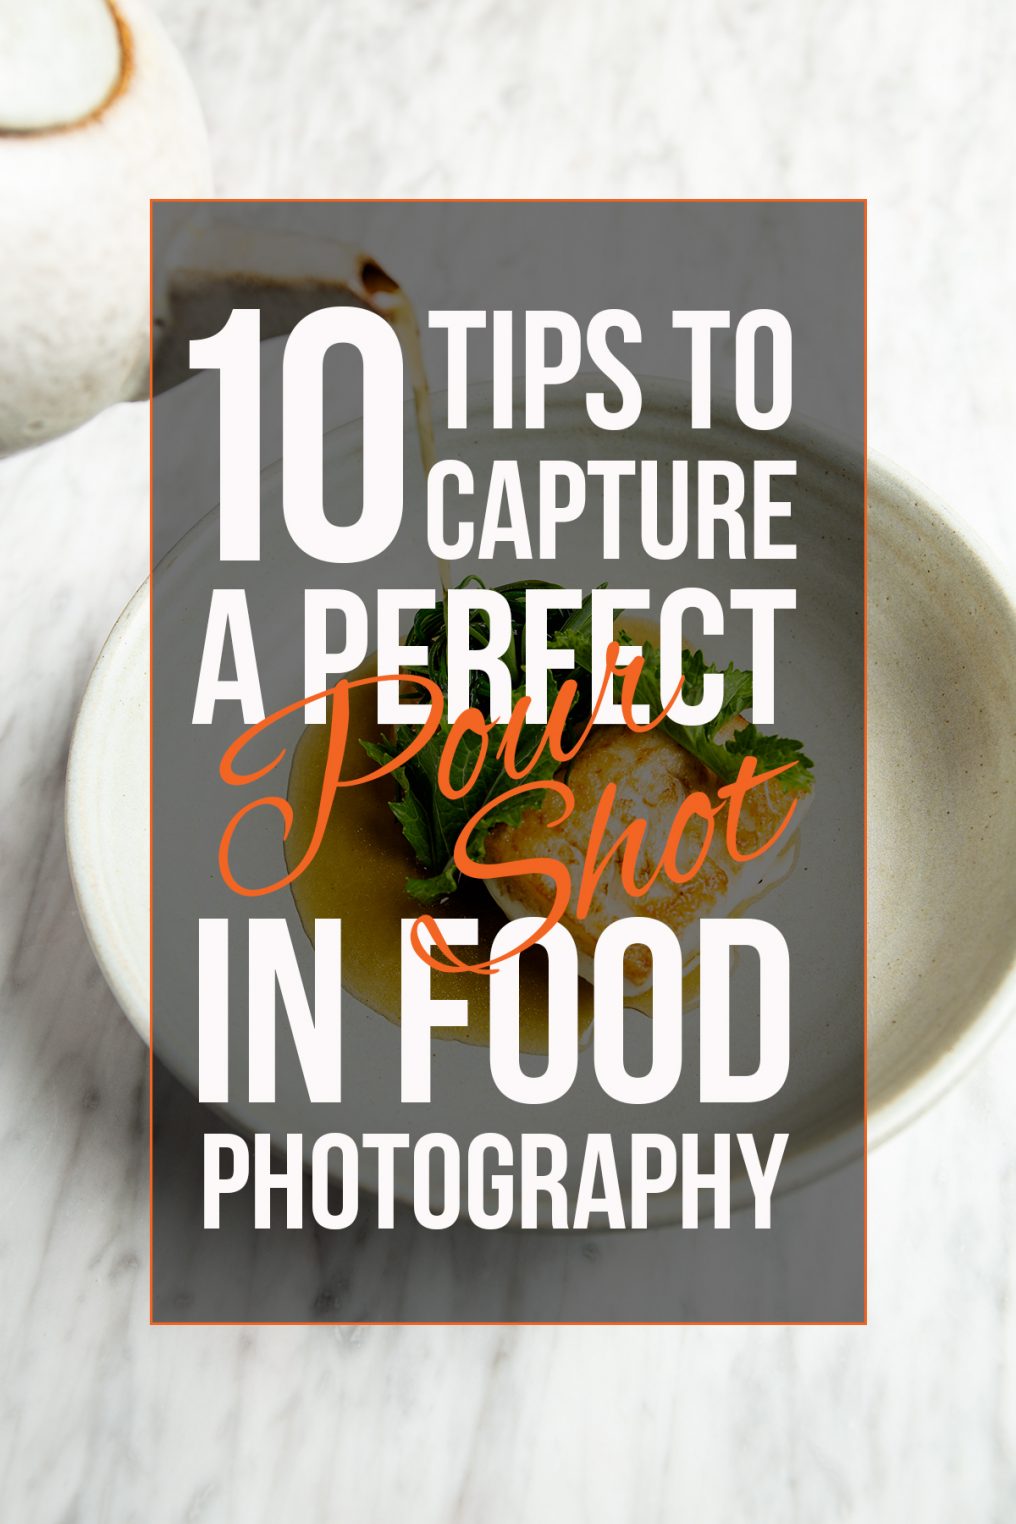
Top 10 Pour Shot Tips
Have you ever wanted to know how to get a great pour shot? Today I’m going to share my 10 tips to help you get better shots pouring deliciousness into your food photography.
Disclaimer
I’ve said it before on here and on social media. I’m not sure if the pour shot is old hat or cool. I think it very much depends on how it’s done and what mood I’m in. When I’ve seen it done to death then the contrary part of me wants to go off and do something apart from the crowd.
Having said that, perhaps I’m in denial of my love of the pour shot. Whichever it is, I had someone asked me how I achieved my pour shots in food photography, so I thought I’d share it here. Now, my knowledge is not definitive on any subject in photography, so others may have different ways to do things. As I’ve said, I’m contrary.

Tip #1 A little help from a friend
Absolutely the best way to get you a good pour shot is to have someone help you achieve it. My food photography is rarely something I do entirely alone. For restaurant work, I usually have a chef to pour and we shoot the dish before the sauce is poured so we have a before and after. Some dishes don’t look as good, photographically, with all the sauce poured on.
Having someone else on had can make the job much easier. Just make sure if they’re not familiar with doing this kind of thing, let them have a few practices away from the set. This way you’re both clear how this shot is going to be achieved.

Tip #2 Choose wisely
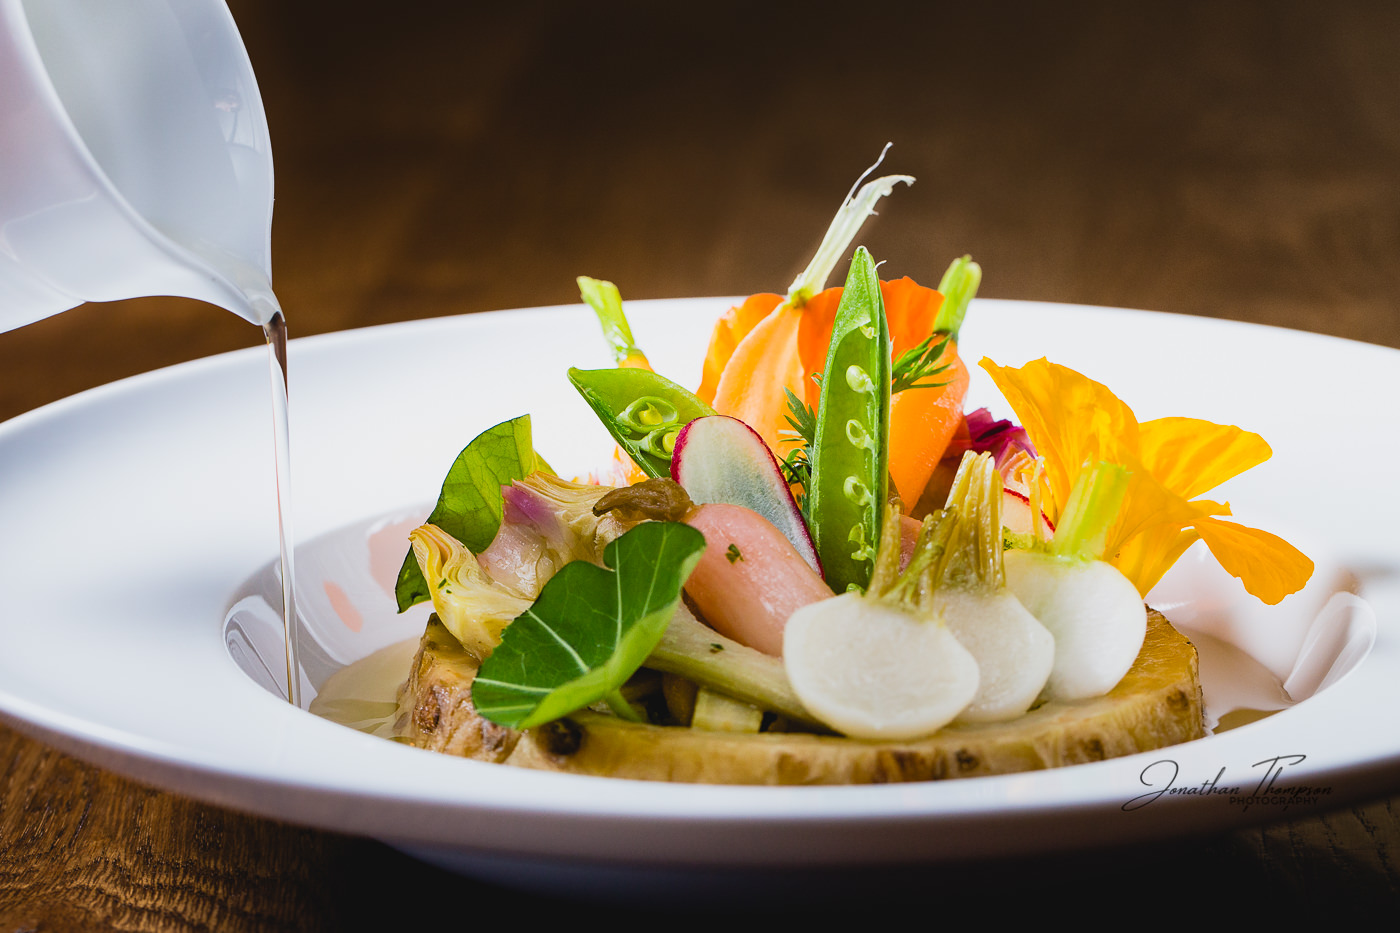
Have you ever been in a cafe where they have the kind of tea or coffee pot that dribbles more than it pours? When you look at the pot, you have no idea it’s a disaster about to happen. We want to avoid this on set without fail.
Choose your pouring vessel wisely. Try them out, see which ones do the best job. Ask yourself, do I need a good pourer without it being in the shot or is it integral, which means the style of the pot/jug matters. Also, is it going to be big enough to hold the right amount, or too big making it hard to handle or oversized in the shot?
Go through all your props and jugs, find your favourites for pour shots and make a note of them.
Share this Post

Tip #3 If you fail to plan, you plan to fail
To get the pour shot to look it’s best, you need to plan where you will pour within the scene. Decide if you want a sauce partly poured in the picture or do you want the very first drop captured. In this case, it doesn’t do any harm to capture both.
Decide where you want the sauce to be which will also dictate on focus points which I’ll come to in just a moment. Plan how you will pour over your food. If someone is helping you, make sure they know the critical part of the scene they will be pouring over. Put the jug into the frame where you will pour before you actually do the pour shot. Basically, you’re doing a dummy run before the actual pour shot. This allows you to pre-focus and frame up the shot.

Tip #4 Shutter speed & flash duration
Pouring liquid, on the whole, is moving fairly quickly, right? Normally we would need a faster shutter speed to capture a sharp moving subject. This is the case, but not categorically, for shooting your food photography pour shot. For example, I can handhold my camera at 1/60 sec and get a sharp food shot but it might not be fast enough to capture the pour nicely.
Here are the occasions you need to go for a higher shutter speed for the pour shot
- When you want to capture the very first drop of sauce onto the food.
- If the stream of the pour isn’t consistent and it moves around quickly.
- The jug or whatever you’re pouring from has to be in the shot and it can’t be held steady.
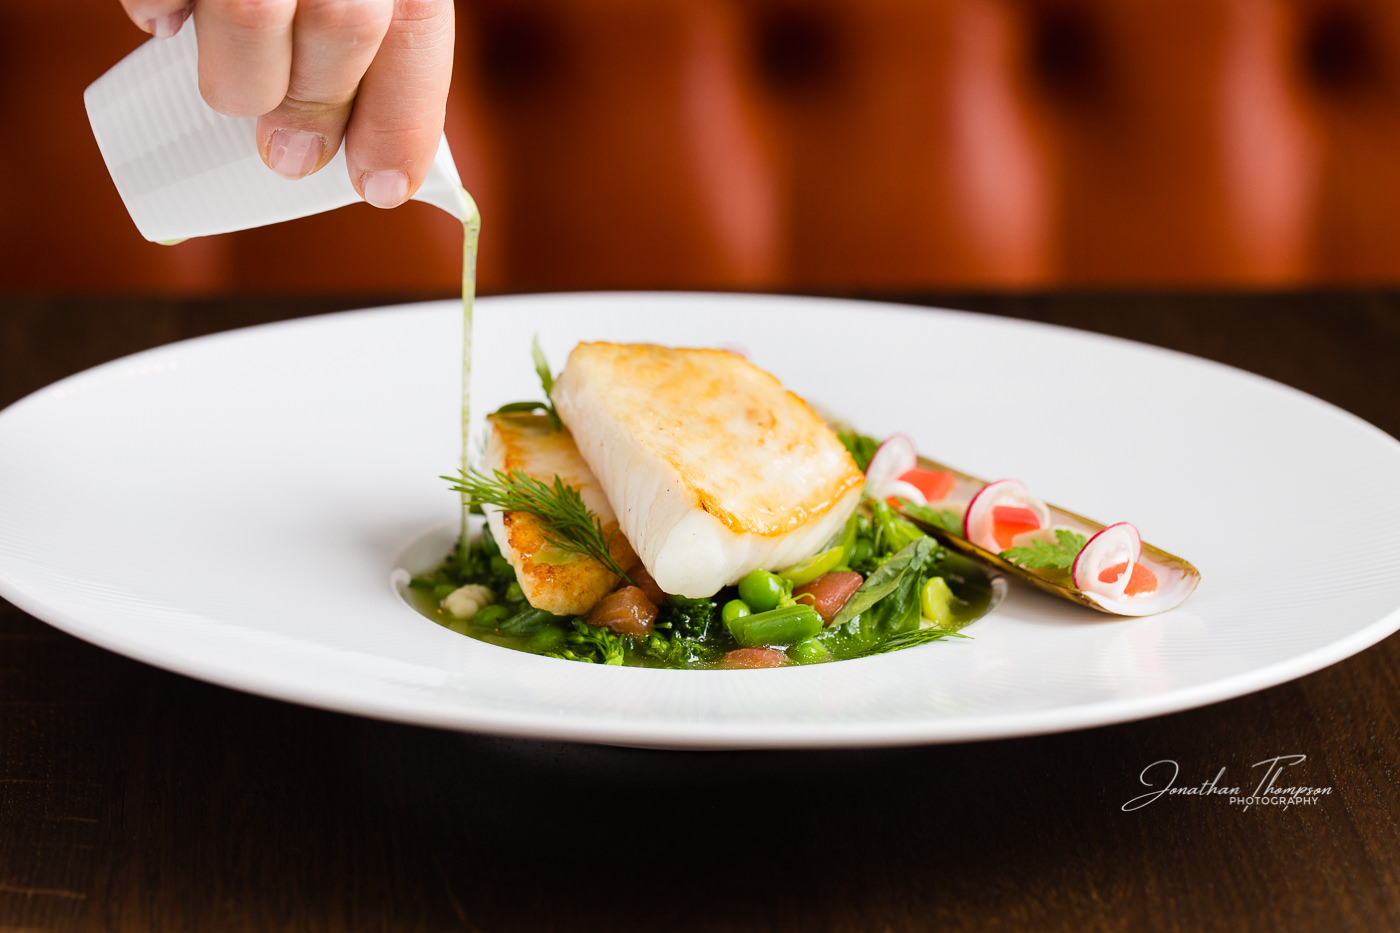
John Dory summer minestrone, asparagus broth
When can I use slower shutter speeds to capture your pour shot?.
- If the jug you’re pouring from is out of shot but the flow of the pour is consistent and pretty regular. In this case, you don’t need to freeze the action of the liquid. For the most part, you won’t have detail in the flowing liquid. Therefore, you can have a bit of motion blur in the stream of flow, whilst keeping the edges of the flow sharp. It’s important to make sure the food is sharp, this takes priority.
- When you’re using strobes and speedlites, the flash duration is so short (Much faster than your shutter speed) that as long as the flash is the key or main light, the flow should be sharp. The camera’s sensor will register the very short illumination of the flow, based on how long the flash illuminated it. Since it was only illuminated for the flash duration, which was incredibly short space of time, you’ll have a sharp image. I wrote an article on using flash to get sharp photos.

Tip #5 Where to focus
This can be a little tricky at first. Let’s say you have a hero raspberry on your stack of pancakes (Mmmmmm pancakes) and you plan to pour maple syrup over that section of the image.
Let’s say both the jug and your camera are both handheld. In this scenario, there is a lot of potential for either the camera or the jug to move. Even just a little bit of movement can spoil the shot. You can still prefocus but this time you may want to put your camera in Servo or continuous focusing. This way you can keep your focus point locked onto the subject whilst shooting and pouring. You may want focus at the point the maple syrup hits the pancakes or perhaps you’d like to focus on the maple syrup as it pours out of the jug or bottle.
Focus & Contrast
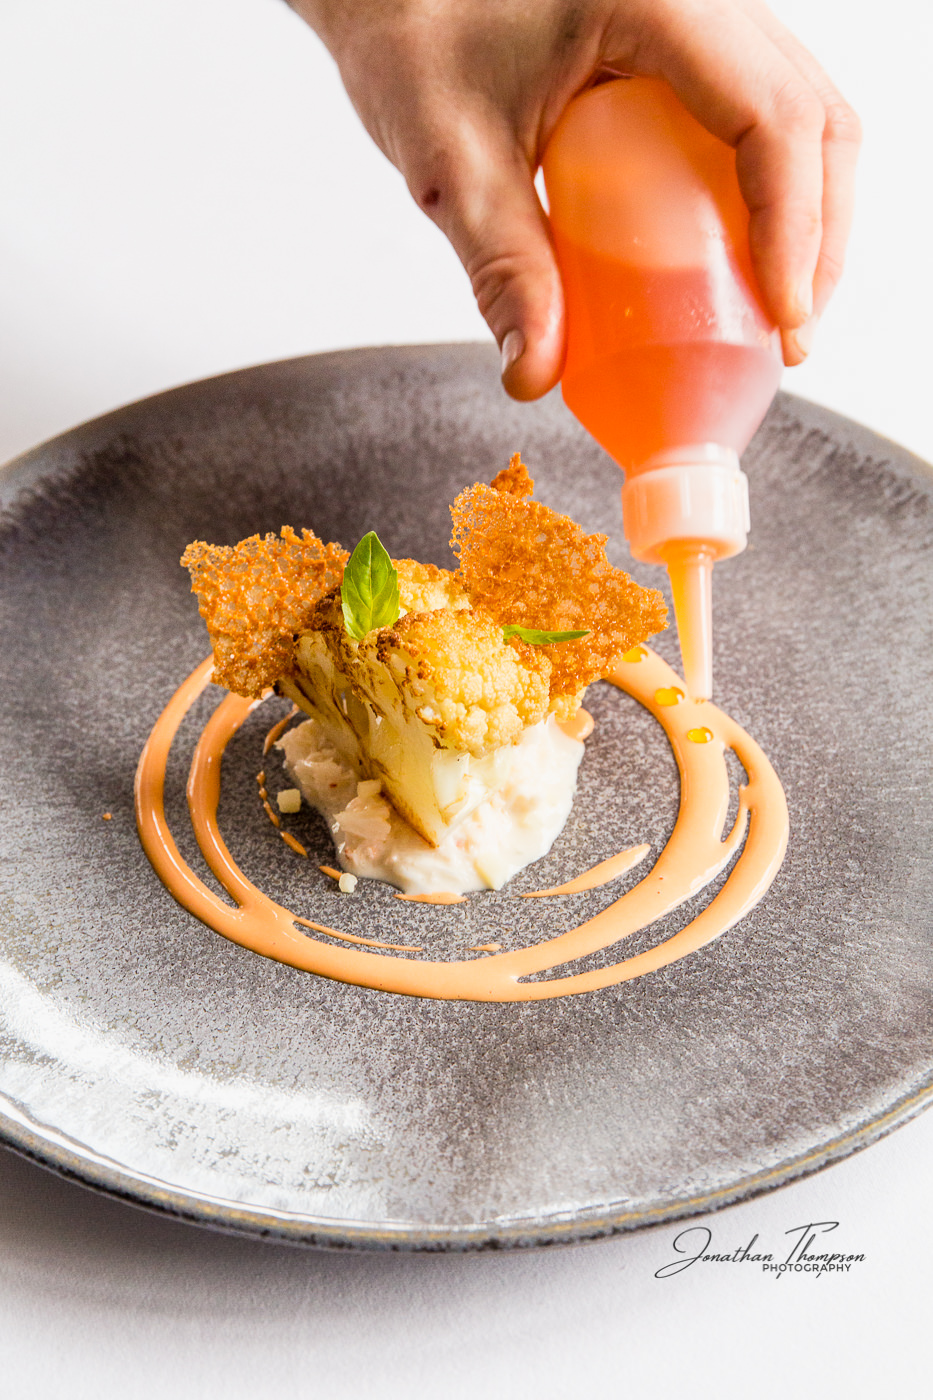
One thing to note if you’re focusing on the liquid coming from the spout of a jug. Spouts tend to be very smooth. This can make it difficult to gain sharp focus because the autofocus of your camera needs contrast to find the edges of stuff. Just like the edge of a smooth washbasin, there’s nothing for the autofocus to find contrast on.
What you do is look for the spout and the background to have very different values. Such as a white jug and a darker background. You can also use the different colours and luminance of the poured liquid and the jug you’re pouring from. Such as the white jug and the golden maple syrup.
Tip #6 Dial in the exposure
This may seem obvious but make sure you have the desired exposure before you start to shoot a pour shot. You may only get one shot at it, especially in restaurant photography. So while you’re testing with the dummy run I previously spoke about, that’s the time to also make sure the exposure is on the money.
Tip #7 Prefocus
You can pre-focus on the spot where your pour hits the food before you start pouring. That way you can make sure you have sharp focus where you want it. What you’re doing is locking in your focus right before the pour shot is captured. It’s usually best to get you composition sorted for this too. Once you get the composition it’s time to choose which focus point is closest to the part of the image you want to be sharp. If you don’t have a focus point on the area you want to be sharp, and the composition is now desirable, choose the closet focus point. This then allows you to focus and recompose without making any big camera moves.

Tip #8 Pour-fect consistency
To get a decent pour shot you will need the liquid to freely flow. Chocolate, gravy and cream can end up getting too thick and don’t want to pour nicely. They also won’t look good if you try to pour it onto the food if it’s too thick.
Creams can be watered down. Add a little water at a time and stir them in until the consistency looks good. If the cream is supposed to be quite thick you’ll need to balance the flow whilst looking thick and lush.
Gravy and chocolate often just need warming up. This then allows them to flow nicely. Making sure your liquid is in a perfect flowing state before you take the shot, is all part of preparing.
Share this Post
Tip #9 Set up a tripod
If you’re working alone or at least can’t wrangle someone to help for a few minutes, locking down your camera onto a tripod is a good option.
Using all the points I’ve spoken about, the only difference being, you are the stunt pourer. The camera will need to be triggered remotely so you can be out front perfecting your Hollywood pour shot. There are a few ways you could go about this.
- Using a remote trigger button for your particular camera.
- Tethering your camera to a computer and triggering the shutter via the software, such as Adobe Lightroom.
- If you’re a Canon shooter, you’re blessed with the Canon EOS Utilities which ships for free with all Canon cameras. This can be used in conjunction with editing software, like Adobe Lightroom or stand alone. It also comes in the form of a really neat little app for your smartphone. You can control the whole camera remotely with just a touch of a screen.
- If you don’t have any of these, you could use the shutter timer on your camera. Most come with a 2-second and 10-second delay, or at least most I’ve seen. I might be more likely to use the 10-second setting. Touch the shutter button to trigger the delay then count in your head whilst getting into position to pour.
- This last way is by far the hardest I’d say. I’m not sure if some cameras have the option to shoot continuous with a delay, but if you can this would be great for the single-handed pour shot. *I’m updating before I’ve even published. Apparently, some Canon cameras do have the function to shoot multiple shots using the self-timer and if you use an external trigger, they will have some of these options. Many thanks to my good mate Brian Worley for all things Canon
Tip #10 Use your arm
This one I’ve done a few times. It tends to be easier if your camera is light and you’re good at using both hands for different tasks. Once again, taking into account all the previous points, you’ll be holding the camera in one hand and the pouring jug in the other. This really is stunt photography.
Using continuous focus will really come into its own here. If you think you struggle to hold still with a camera using two hands, one-handed will possibly be like corn growing in a field on a windy day. You’ll kind of need one eye looking through the viewfinder and the other looking around the camera to see where you’re pouring.
It can definitely be done and sounds a bit crazy pants at first, but with practice and at a snip, you’ll master it.

JT’s Bonus Tips
Something you’ll want to watch out for when shooting pour shots. Having the pour coming into the frame without seeing the source of the sauce (See what I did there) I’m not always a fan of the phantom pouring from out of the frame, it’s just not something that sits well with me. I don’t always mind it when someone else does it, but I don’t usually like it in my own work. I know this because I’ve done it.
If you shoot down on the pour shot, such as I’ve done, you need to make sure that the vessel from which you’re pouring isn’t distracting or over present in the frame.
From the same 3/4 angle, you may choose to focus on the pour as it connects with the subject, therefore making the jug soft in focus. This can work unless the soft focus pour jug is too much in the frame. Whereas if you focus on the lip of the jug, making the dish soft in focus, your brain accepts this quite readily.
Pouring Over This Post
Pour shots take practice, but everything does. They can also be a bit frustrating when they don’t go well and you can’t go back and pour the gravy over the food again. If you’re new to this kind of shot, go back through this post or come back to it when you’re practising. Note down some bullet points and have a go with a setup you can play with over and over again. Maybe tea or coffee pouring into a cup, something like that.

Bullet Points
- Get someone to help you.
- Choose your pouring vessel wisely.
- Plan where the pour is going to happen in the scene.
- Are you going to be using shutter speed or flash duration to freeze the motion?
- Get your focus and focus points selected.
- Dial in the desired exposure.
- Pre-focus when you can.
- Make sure your pour liquid is a good consistency.
- Set up your tripod or practice with your Hollywood stunt shooter technique using both hands.
That’s all from me today. I hope you find this helpful. Do let me know if you have any questions in the comments below and please share on your social media in case anyone else wants to know how the food photography pour shot is achieved. I’ll be back with more food photography tips very soon.
All the best until next time, JT
Share this Post
2 Comments on “10 Tips To Capture A Perfect Pour Shot In Food Photography”
Some great points here. Still working on my photos and not yet attempted the “pour shot” but I will keep this list as it all makes sense! Thanks for sharing! Your photos are stunning by the way!
Hi Michelle,
So glad this has been helpful and thanks for the lovely compliment. We’re all constantly working on our photography. The nice thing is we will always be honing our craft, that’s part of the joy for me, constantly growing and learning.
When you get around to the pour shot and if you have any questions, don’t hesitate to get in touch.